Showing posts with label EclipseGrafx. Show all posts
Showing posts with label EclipseGrafx. Show all posts
Sunday, September 20, 2015
Brickworld Tampa Pictures!
Hello Guys! Yesterday, Brickworld came to Tampa! My uncle, who is the owner of EclipseGrafx was selling/advertising there and got us FREE tickets! I took loads of pictures, and thought I might share them with you guys! All of the displays were amazing! I put it into a slide show for you guys :)

Thursday, July 2, 2015
LEGO City Great Vehicles 60057 Camper Van~ LEGO Review
Hello everybody! I have another review to share with you. It is now summer, the camping season, so I decided to do review on my Lego City Camper Van!!!
I like this camper van, as it has many opening/closing/moving features.
I hope you enjoy this!
Warning: some stickers from this set may be peeling/missing

I like this camper van, as it has many opening/closing/moving features.
I hope you enjoy this!
Warning: some stickers from this set may be peeling/missing
 |
| The set |
 |
| Accessories |
 |
| Female Minifigure's Front I call her Nya (from Ninjago) because she has Nya's hair |
 |
| Nya's ( I am going to call her Nya, because it is shorter) Left side |
 |
| Nya's back |
 |
| Nya's right side |
 |
| Male Minifigure's front I call him Jay (From Ninjago also) Because they also have the same hair |
 |
| Jay's left side |
 |
| Jay's back |
 |
| Jay's right side |
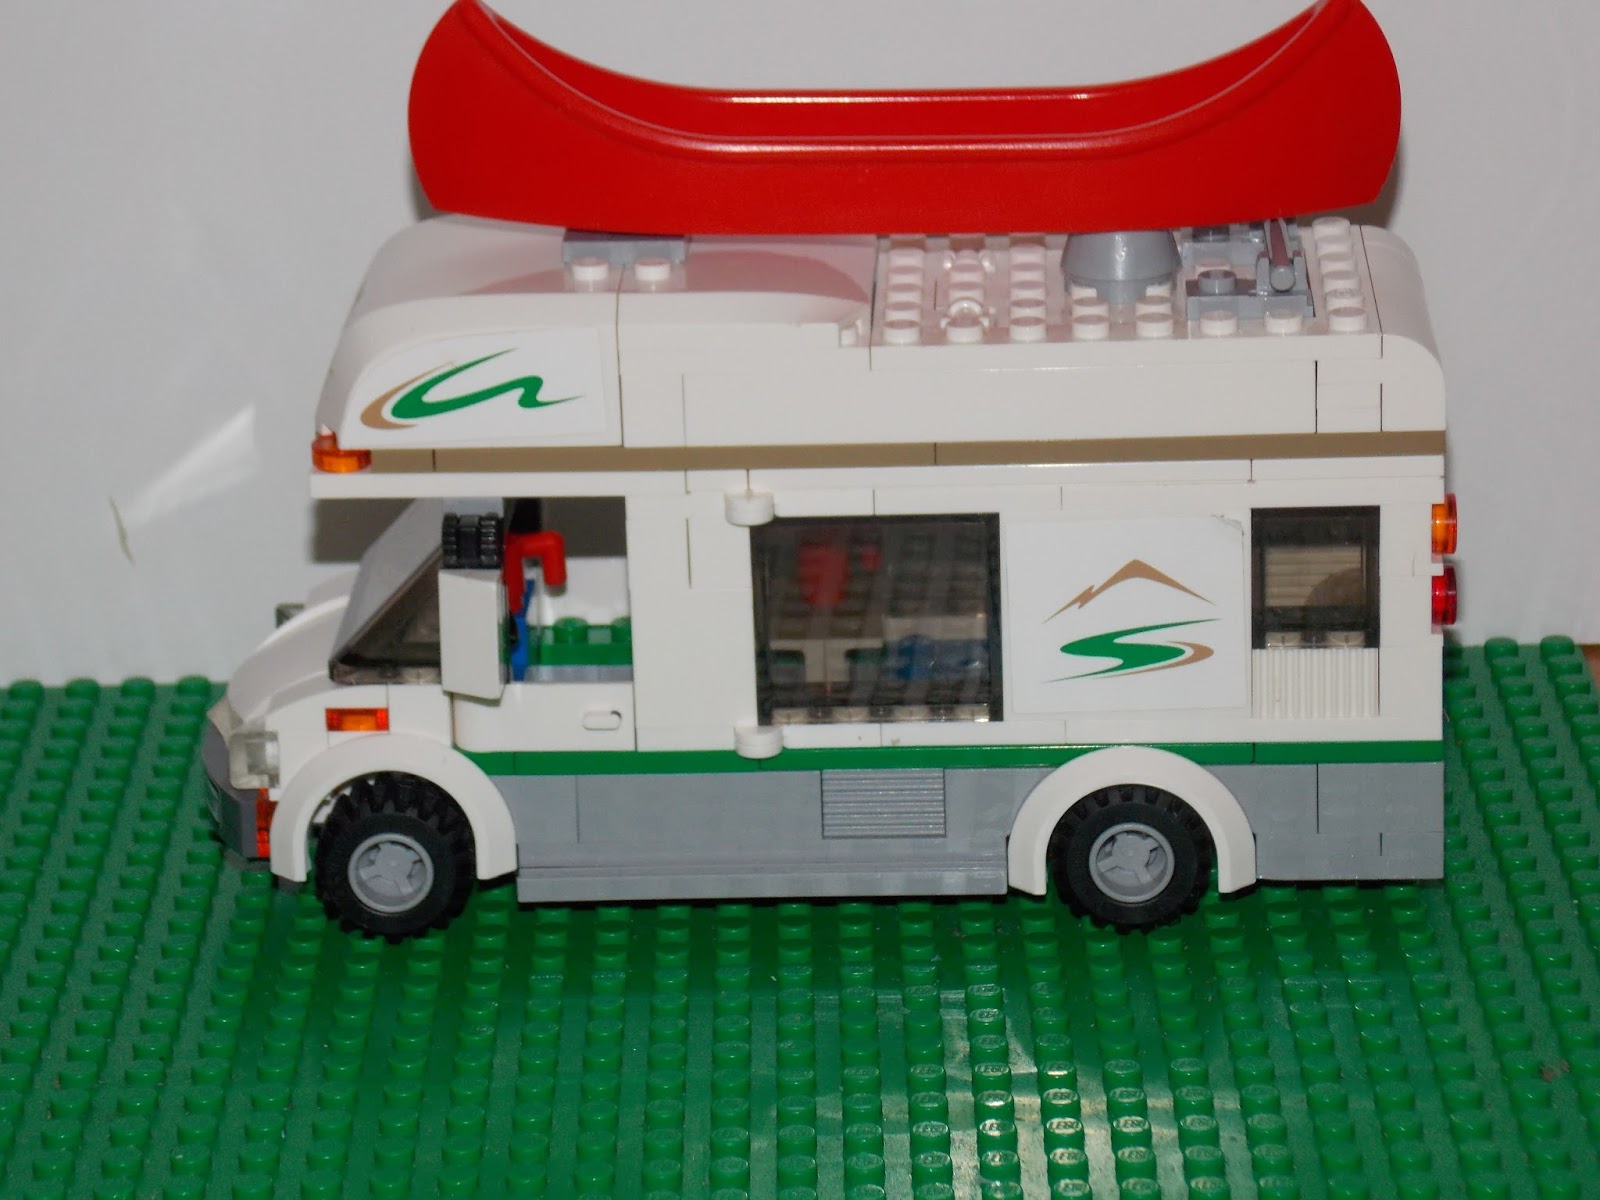 |
| Camper Van! |
 |
| Camper Van: View from Front |
 |
| View from right side |
 |
| View from back |
 |
| Cool Feature! The a piece of the left side opens up to look and play inside the van! |
 |
| Ahh. Comfy bed |
 |
| A TV next to the bed. It appears to be a fishing show. Perfect for camping |
 |
| A small table and chair, with a stud for placing items, such as this mug. |
 |
| Also, the top of this van easily comes off and on. I use this feature a lot, as it is hard to get the minifigs in their seat through the small doors. |
 |
| Camper van view from top |
 |
| A simple but cool detail. Side view mirrors! It would be nice if the 2x1 slope for the mirrors were see-through, though. |
 |
| The front of the van from the top. Includes a blue driver's seat, steering wheel, and coffee mug. It would be nice if there was a passenger side seat. |
 |
| Now for the top part of the van |
 |
| This panel pulls up to reveal a storage area to store the lifevests and oars for the canoe |

 |
| I don't think this is designated for storage, but if I need some extra space for stuff, I use this secret hatch |
 |
| You could fill it with supplies, |
 |
| Or you could use it as a roof top bed! |
 |
| Now for the Canoe! |
 |
| I think this is a cute detail to the set |
 |
| Life vests: TO put them on, you have to take off the minifig's head, slide the vest over the neck stick, and place the head on top. |
 |
| the minifigure's head does not go down all the way though, if you use the lifevest |
 |
| (size difference: Left-lifevest Right-no lifevest) |
 |
| SO Cute!! |
 |
Jay: Good-Bye! |
Sunday, June 28, 2015
Lego Creation~Barbeque! Part 2 (Includes answer to last "Guess the Minifigure")
(Continuation of last post)


I hope you liked that tutorial! If you liked it, please leave a comment telling me so. Also, please take a minute to take our survey. There is a tab at the top of the blog saying "Survey" Thanks!
Oh, plus! The answer to the mystery minifigure was:
 |
| Get another 2x4 plate and place it on the right side of the BBQ |
 |
| Get a 2x4 plate and place it on the left side |
 |
| now push that aside and get a whatever this is called. It is a flat curvy thing |
 |
| get a 1x4 plate and place it on the side that is lower than the others |
 |
| now get a 1x4 brick and place it on the left side (I later changed the white pieces to gray) |
 |
| another 1x4 brick on the right |
 |
| two 1x2's side by side on the last remaining edge |

 |
| Get two more 1x2 bricks and put them on the lower side to make all the edges the same height |

 |
| now get one of these and place it one pair of the 1x2 bricks. |
 |
| it should look like this |
 |
| now attach it to the back of the BBQ so it looks like an open lid |
 |
| now get these 1x2 grill plates and place them from left to right covering the lower surface of the grill. |
 |
| It should look like this |
 |
| Now get two 1x2 plate with an indented stud in the middle and place them in the center of the 2x4 plate |
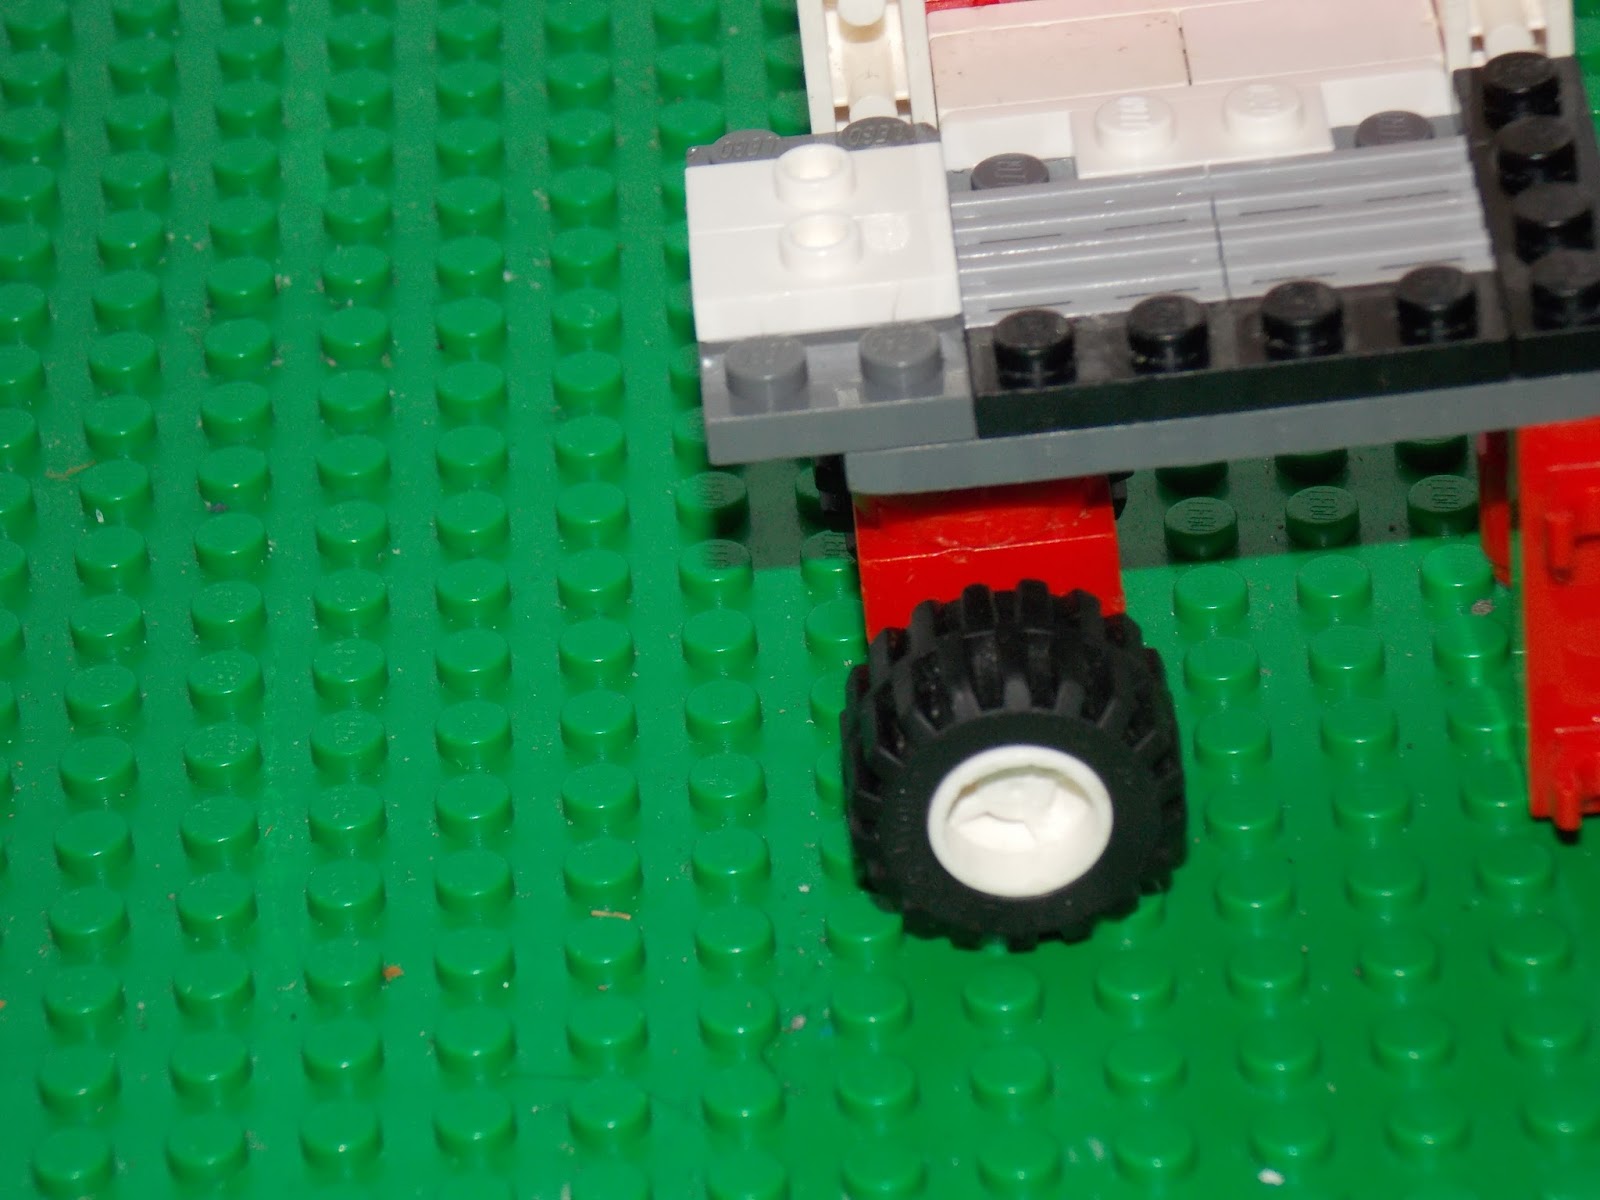 |
| This will make an extra cooking spot. |
 |
| Now add a few grilling accessories to this handy piece |
 |
| Voila! (i added a little propane bottle on the bottom of the grill) Of course, this grill is a little too big for minifigs, so i put mine on stilts! Just add some food to the grill! |
 |
| Ahh! A nice relaxing scene. (P.S: The minifig on the left is holding a Bricka-Cola made by Eclipse Grafx Bricks. Check them out!) (P.P.S: That piece of meat on the extra cooker is a piece of bacon also made by Eclipse Grafx Bricks) |
Oh, plus! The answer to the mystery minifigure was:
 |
| Kai from Ninjago! |
 |
| \ |
Subscribe to:
Posts (Atom)