
Showing posts with label BBQ. Show all posts
Showing posts with label BBQ. Show all posts
Monday, June 29, 2015
Emmet's Barbeque Breakdown~ A stop motion
I thought I would put that LEGO BBQ I made earlier to good use, and made a stop motion. I took me a long time to make this. It took 2 hours and 24 minutes to do the building and filming, plus another hour to put it all into a video. so, 3 hours and 24 minutes in total. I hope you like it!

Sunday, June 28, 2015
Lego Creation~Barbeque! Part 2 (Includes answer to last "Guess the Minifigure")
(Continuation of last post)


I hope you liked that tutorial! If you liked it, please leave a comment telling me so. Also, please take a minute to take our survey. There is a tab at the top of the blog saying "Survey" Thanks!
Oh, plus! The answer to the mystery minifigure was:
 |
| Get another 2x4 plate and place it on the right side of the BBQ |
 |
| Get a 2x4 plate and place it on the left side |
 |
| now push that aside and get a whatever this is called. It is a flat curvy thing |
 |
| get a 1x4 plate and place it on the side that is lower than the others |
 |
| now get a 1x4 brick and place it on the left side (I later changed the white pieces to gray) |
 |
| another 1x4 brick on the right |
 |
| two 1x2's side by side on the last remaining edge |

 |
| Get two more 1x2 bricks and put them on the lower side to make all the edges the same height |

 |
| now get one of these and place it one pair of the 1x2 bricks. |
 |
| it should look like this |
 |
| now attach it to the back of the BBQ so it looks like an open lid |
 |
| now get these 1x2 grill plates and place them from left to right covering the lower surface of the grill. |
 |
| It should look like this |
 |
| Now get two 1x2 plate with an indented stud in the middle and place them in the center of the 2x4 plate |
 |
| This will make an extra cooking spot. |
 |
| Now add a few grilling accessories to this handy piece |
 |
| Voila! (i added a little propane bottle on the bottom of the grill) Of course, this grill is a little too big for minifigs, so i put mine on stilts! Just add some food to the grill! |
 |
| Ahh! A nice relaxing scene. (P.S: The minifig on the left is holding a Bricka-Cola made by Eclipse Grafx Bricks. Check them out!) (P.P.S: That piece of meat on the extra cooker is a piece of bacon also made by Eclipse Grafx Bricks) |
Oh, plus! The answer to the mystery minifigure was:
 |
| Kai from Ninjago! |
 |
| \ |
Lego Creation~Barbeque! Part 1
It's almost that time of year (for Americans) 4th of July! Grilling hotdogs, playing outside, eating to your hearts (or maybe stomachs?) content. So I thought I should make a barbeque! Here is the tutorial (you can change the colors or pieces, if you like)
 |
| Here is the barbeque! |
 |
| This is the supply list (hopefully you can see it well) |
 |
| Begin with a 4x6 plate |
 |
| Get three red 1x1 cylinders and connect them one on top of the other. |
 |
| this is how it should look with them all connected |
 |
| Add this to one corner of your BBQ. This will be a leg |
 |
| Now get a whatever this piece is called and connect it on the corner across from the three cylinders. |
 |
| move your BBQ aside and get a round red 2x2 and connect it to the top of a regular 2x2 |
 |
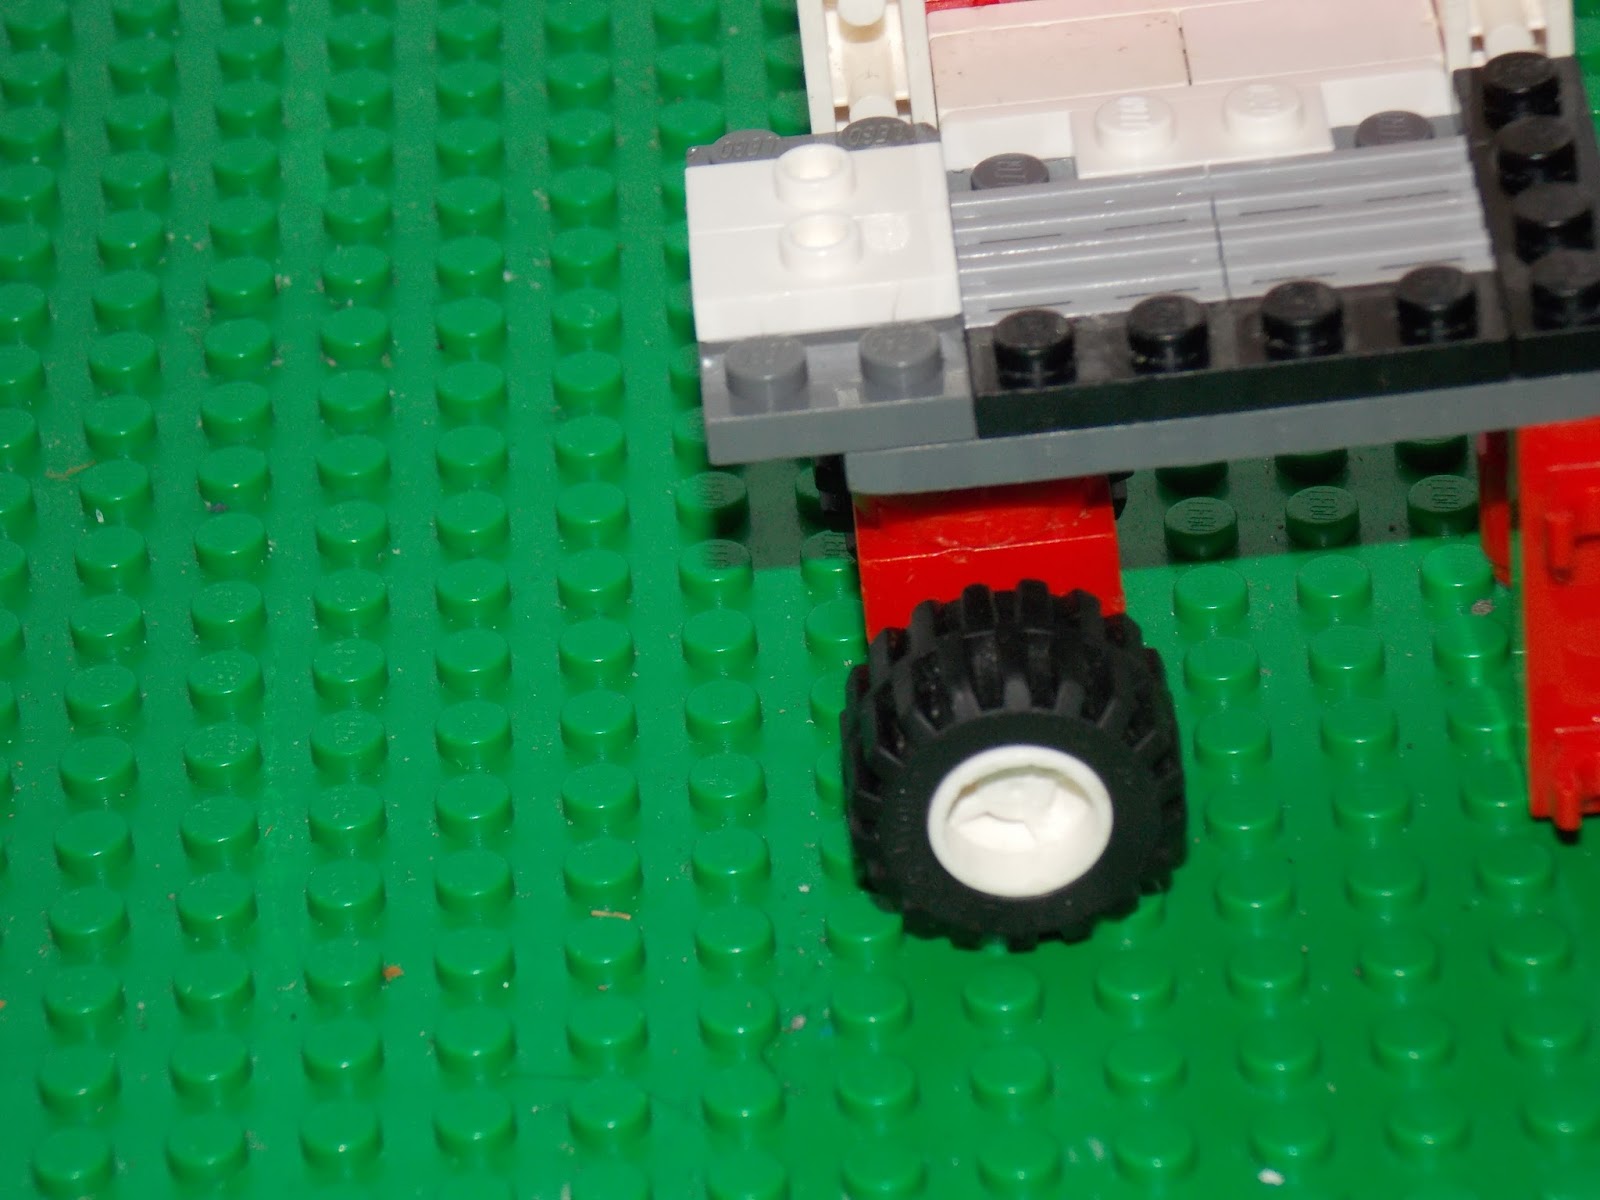
| grab a pair of wheels and connect it to the bottom |
 |
| put this on the bottom of your BBQ |
 |
| now grab a 1x4 plate and connect it to your BBQ according to the picture. |
That is all for right now. Something is up with my computer, and I can't add any more photos. Part 2 will be up shortly.
(ps. I am trying something new. i think whoever does the post should end with their custom minifigure)
 |
| So Long for now! ~Angie (This is my custom minifigure, not me) |
Subscribe to:
Posts (Atom)